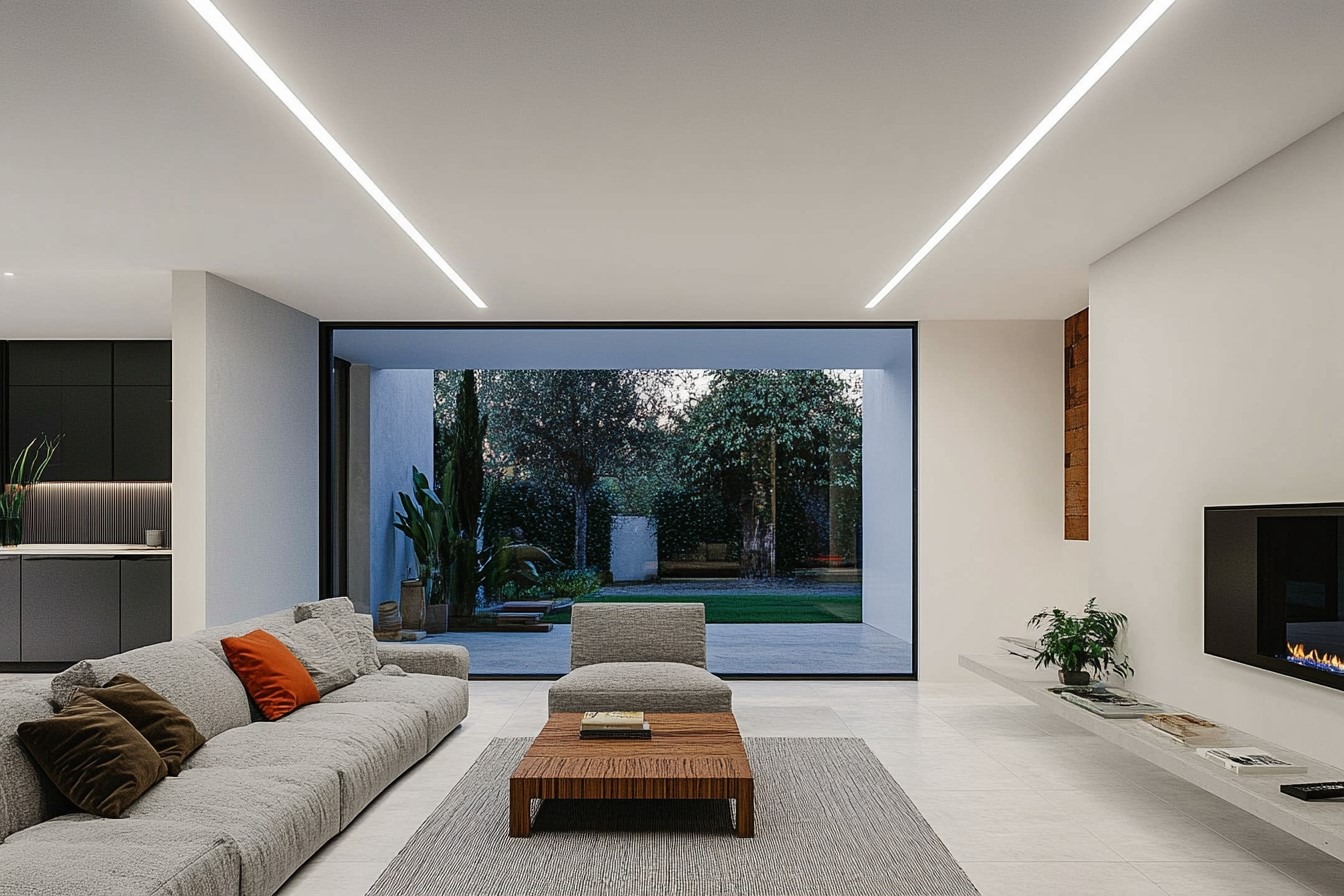
A dark living room makes even good furniture look tired. The good news is that a smart lighting retrofit can brighten the space without turning your ceiling into a construction zone or sending drywall dust across the whole house. For many U.S. homeowners, the real win is not more lights. It is better placement, cleaner control, and less damage than old-school recessed can work used to require.
Modern canless LEDs, remodel-rated housings, wireless switches, and careful wire routing have changed the job. A project that once meant big ceiling cuts can often happen through small fixture openings, attic access, or existing electrical paths. If you are comparing project ideas, reading renovation guides, or studying trusted home improvement resources like practical home upgrade insights can help you think beyond the fixture and focus on how the room will actually feel at night.
The smartest living room lighting plan starts before anyone touches a drill. You need to know where people sit, where shadows fall, where the TV reflects light, and where old wiring can safely support new fixtures.
Planning a Lighting Retrofit That Protects the Ceiling
The ceiling is not the enemy, but it is the surface most homeowners fear damaging. That fear makes sense. Once drywall is opened, the project can grow from lighting work into patching, sanding, priming, repainting, and matching old ceiling texture. A clean plan keeps the ceiling mostly intact by treating every hole as a decision, not a guess.
Why Canless LED Fixtures Changed the Job
Canless recessed lights solved one of the biggest problems with old recessed cans. Traditional housings need more space, more framing clearance, and often more ceiling access. Canless fixtures use a slim LED wafer and a small junction box, which means the installer usually needs only a round opening for the light itself.
That design matters in older American homes where ceiling joists, insulation, ducts, and old wiring rarely sit where you wish they did. A 1970s ranch living room in Ohio, for example, may have limited attic height near the eaves. A slim fixture can fit where a full can would turn into a fight.
The counterintuitive part is that smaller does not always mean weaker. Many canless LEDs produce strong, even light with selectable color temperature settings. That lets you choose a warmer living room feel without buying the wrong fixture and regretting it every evening.
Mapping Joists Before Marking Light Locations
Good layout work feels slow at first, but it saves the ceiling later. A stud finder, painter’s tape, and a simple floor sketch can prevent ugly surprises once the hole saw comes out. Joists decide where fixtures can fit, and furniture decides where they should go.
Many homeowners make the mistake of spacing lights like graph paper. Real living rooms do not work that way. A sofa, coffee table, fireplace, media wall, and walkway each need a different kind of light. Equal spacing may look neat on paper and still feel wrong in the room.
A better method is to tape the proposed light points on the ceiling, then sit in the room at night with lamps turned off. Notice where faces need soft light, where corners go flat, and where glare would hit the TV. That five-minute test can save you from installing a perfect grid that nobody enjoys living under.
Running Wires Without Turning the Room Into a Jobsite
Once the layout makes sense, the real challenge begins behind the ceiling surface. The cleanest projects work with existing access instead of fighting the house. Attics, unfinished basements, closet walls, switch boxes, and old fixture openings can become quiet routes for new wiring when the plan is careful.
Using Attic or Basement Access the Smart Way
Attic access can make a retrofit much easier, but it does not remove the need for care. Loose-fill insulation hides wiring, junction boxes, and framing details. Walking in the wrong place can crack drywall from above, which defeats the whole point of avoiding ceiling damage.
In homes with unfinished basements, the lighting circuit may be easier to trace from below. That helps when the living room sits on the first floor and the ceiling cavity is hard to reach from above. A skilled electrician can sometimes fish wiring through the joist bays with only small openings at the fixture points.
This is where local building habits matter. A newer Texas home with open attic space gives you different options than a two-story colonial in New Jersey. The same fixture may work in both, but the wiring path will not behave the same way.
When Wireless Controls Make More Sense Than New Switch Runs
Switch wiring causes more wall damage than many homeowners expect. Adding a new switch leg can mean cutting into walls, drilling through framing, or fishing cable past insulation and fire blocking. That work may be worth it, but not every living room needs it.
Wireless dimmers and smart controls can reduce the need for extra wall cuts. Some systems allow a switch location to control lights without a traditional hardwired connection to every fixture. That can be useful when the current switch box is crowded or placed in an awkward spot.
Still, smart controls are not a magic escape from electrical rules. The lights need proper power, safe junctions, and code-compliant connections. The best setup combines modern control with boring, safe electrical work behind the scenes. Boring is good when it comes to wiring.
Choosing Fixtures That Feel Right in a Living Room
Light quality matters more than fixture count. A living room is not a garage, and it should not feel like one after the upgrade. The goal is comfort, depth, and control, not a ceiling full of bright dots that flatten every surface below.
Picking Warmth, Brightness, and Beam Spread
Color temperature sets the mood fast. Many U.S. living rooms feel best around warm white settings, often near the range people associate with cozy lamps. Cooler settings can work in modern spaces, but they can also make beige walls look dull and skin tones look tired.
Brightness needs the same restraint. A common mistake is installing too many high-output fixtures and then relying on dimmers to rescue the room. Dimmers help, but they do not fix bad placement or harsh beam spread.
Beam angle also shapes the result. A narrow beam can create hot spots on a coffee table or harsh pools on the floor. A wider beam spreads light more softly, which often suits family rooms, open-concept spaces, and casual seating areas better.
Avoiding the Airport Runway Ceiling Effect
Too many recessed lights in straight rows can make a living room feel like a hallway. The ceiling starts to dominate the room, and the fixtures become the design instead of the background. That is rarely the look homeowners wanted.
A cleaner approach uses fewer lights with clearer jobs. Some fixtures can wash the seating area. Others can support a fireplace wall, built-ins, or a reading corner. Lamps and wall lights can stay part of the mix instead of being replaced by ceiling light alone.
The unexpected truth is that recessed lights often work best when they do not do everything. A room with ceiling LEDs, a floor lamp, and one warm table lamp usually feels richer than a room trying to solve every lighting need from overhead.
Managing Cost, Code, and Contractor Decisions
A ceiling-saving project can still go wrong if the budget, permits, and contractor choices are weak. The cleanest installation is not always the cheapest bid. It is the one that protects the room, follows electrical rules, and gives you light you will still like after the novelty wears off.
What Homeowners Should Ask Before Work Starts
The first question should not be, “How many lights can you install?” A better question is, “Where will you access the wiring, and what surfaces might need repair?” That forces the contractor to explain the path, not just the product.
Ask whether the fixtures are IC-rated when insulation is involved, whether they are suitable for the ceiling type, and whether the dimmer matches the LED model. A mismatched dimmer can cause flicker, buzzing, or poor low-end control. Those small annoyances feel much bigger once the project is finished.
A homeowner in a Chicago bungalow, for example, may need a different plan than someone in a newer Phoenix subdivision. Plaster, old knob-and-tube remnants, low attic clearance, or crowded switch boxes can change the job. A good electrician says that early instead of pretending every living room is the same.
Budgeting for the Hidden Parts of a Clean Finish
Fixture prices are only one piece of the cost. Labor, access, dimmers, permits, patching, paint touch-ups, and unexpected wiring issues can shift the final number. A low fixture count with better placement can sometimes beat a bigger layout with cheaper parts.
You should also budget for decision time. That sounds strange, but rushed choices lead to bad light. Pick selectable fixtures when possible, test color temperature before final settings, and confirm dimmer behavior before calling the job complete.
A smart recessed lighting retrofit is less about showing off new lights and more about making the room easier to live in every evening. Walk the space with your contractor, protect the ceiling where you can, and insist on a layout that serves how you actually use the room.
Conclusion
Living room lighting should feel natural, not newly installed. That is the standard worth chasing. When a ceiling stays intact and the room gains warmth, depth, and better control, the upgrade feels less like construction and more like the house finally caught up with your daily life.
The best lighting retrofit does not begin with a shopping cart full of fixtures. It begins with the way your family watches a movie, reads on the sofa, welcomes guests, and moves through the room after dark. Those habits tell you where light belongs.
Do not let anyone sell you a ceiling full of circles when what you need is a calmer, smarter room. Choose fixtures with care, plan the wiring path before cutting, and hire someone who respects both code and finish work. Start with a layout walk-through, then build the project around the room you actually live in.
Frequently Asked Questions
Can recessed lights be added without cutting open the whole ceiling?
Yes, many projects need only small round openings for canless LED fixtures. Installers may use attic access, existing switch boxes, or wire-fishing methods to avoid large drywall cuts. The exact result depends on framing, insulation, and available electrical paths.
What type of recessed light works best for a living room retrofit?
Canless LED fixtures often work well because they are thin, efficient, and easier to place in tight ceiling spaces. Look for dimmable models, selectable color temperature, and insulation-rated options when needed. Comfort matters more than raw brightness.
How many recessed lights does a living room need?
The right number depends on room size, ceiling height, furniture layout, and other light sources. Many living rooms need fewer fixtures than homeowners expect. A balanced plan uses overhead lights with lamps or accent lighting instead of flooding the ceiling.
Do I need an electrician for canless recessed lighting?
Yes, hiring a licensed electrician is the safer choice for permanent wiring. Even simple-looking fixtures need proper connections, junction boxes, circuit capacity, and code compliance. DIY mistakes behind a ceiling can create fire risks or future repair problems.
Will recessed lighting cause glare on a TV?
Poor placement can create glare, especially when lights sit directly in front of the screen or above seating angles. Keep fixtures away from harsh reflection paths and use dimmers. A lighting layout should be tested around the TV wall before final installation.
What color temperature is best for living room recessed lights?
Warm white usually feels best in living rooms because it supports comfort and softer skin tones. Many homeowners prefer selectable fixtures so they can test settings before settling. Cooler light can suit some modern spaces, but it may feel harsh at night.
Can recessed lighting be installed in an insulated ceiling?
Yes, but the fixture must be rated for the conditions. IC-rated fixtures are designed for contact with insulation. The installer also needs to follow manufacturer rules and local code so heat, wiring, and air sealing are handled safely.
Are dimmers worth adding to living room recessed lights?
Dimmers are worth it because living rooms serve different moods throughout the day. Bright light may help while cleaning, but softer light feels better for relaxing. Use LED-compatible dimmers matched to the fixture to avoid flicker or buzzing.